Building an Original i3 MK2 Kit 3D Printer - Finishing!
Yesterday I finished the frame for the Prusa so today it was time to add the electronics and eventually try to print!
Continuing the Build…
Here is where I left off yesterday, please check out my last blog post for that build log.

Next was mounting the extruder which came with a large amount of spaghetti - this will need to be cleaned up…


The white plastic in the previous two photos was a rigid piece which ensured that the wires would not wear and break near the extruder and would fall out and around the build plate. I then wrapped the plastic coil around to ensure everything is neat and tidy.


Speaking of tidying up, I’d made a right mess of my workspace!

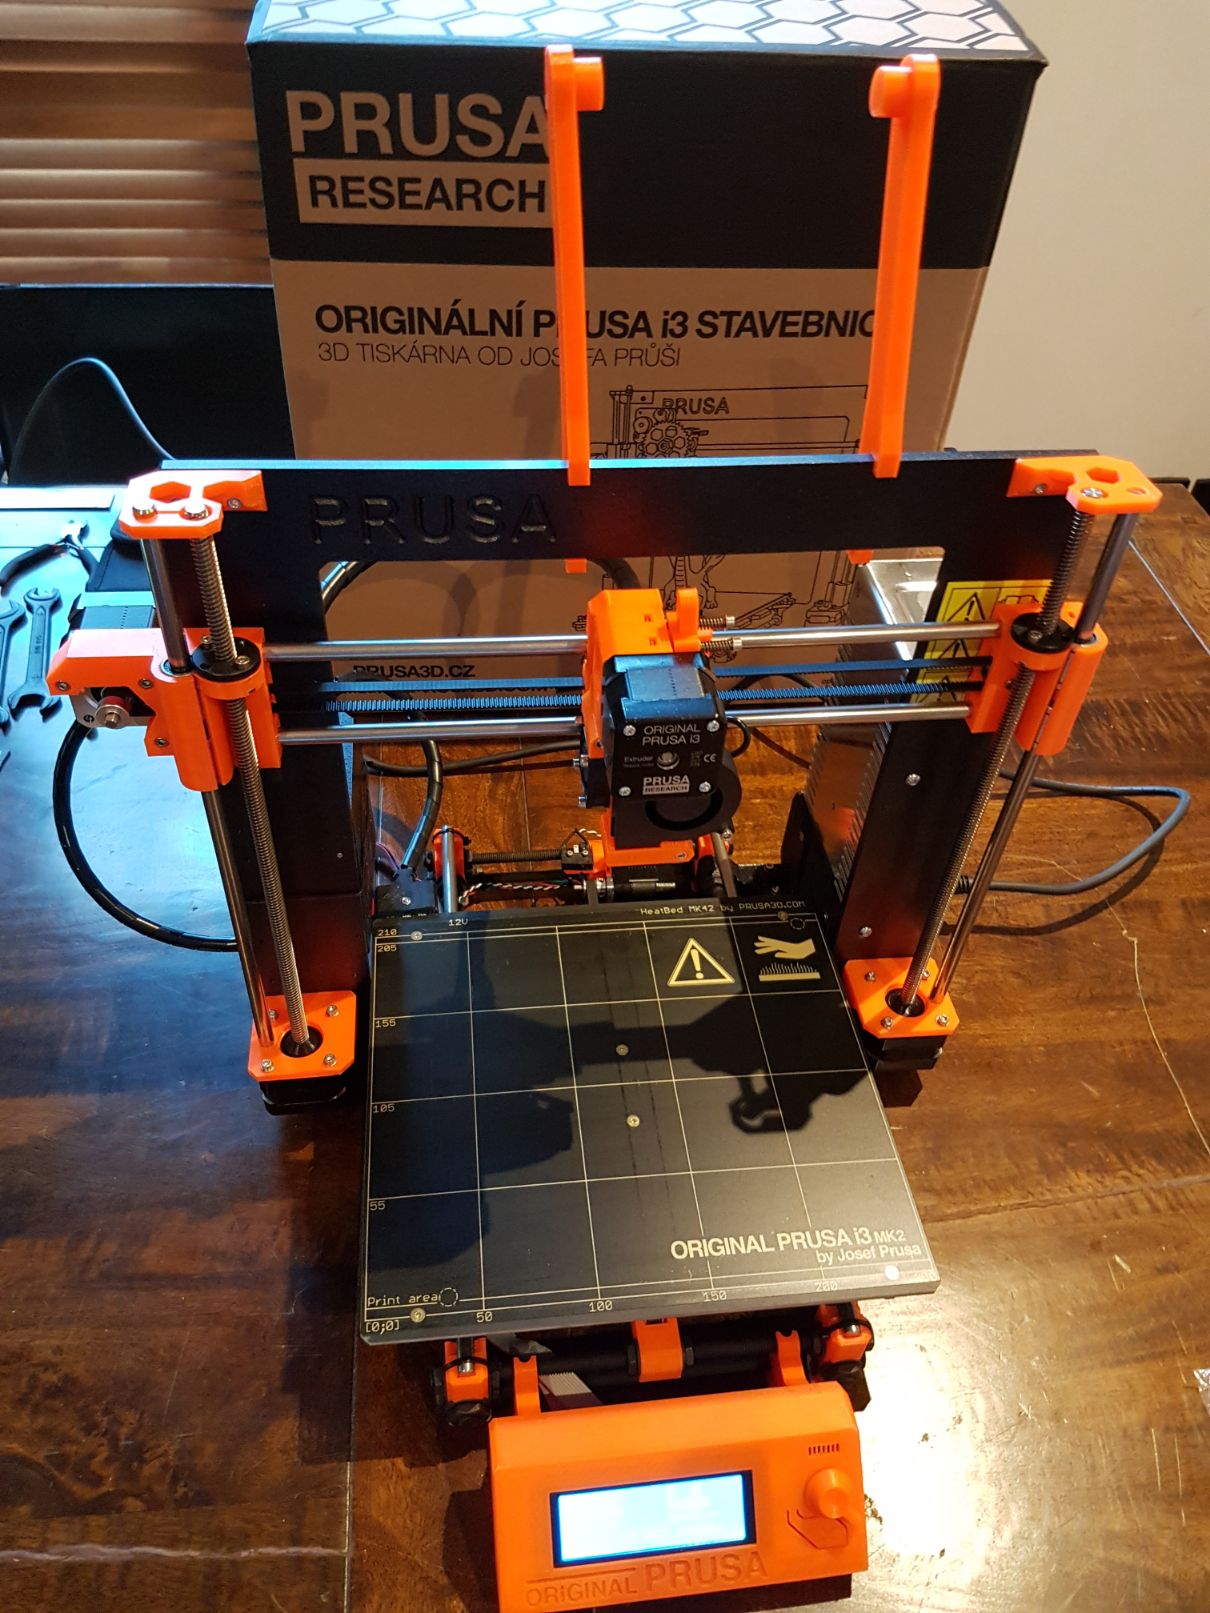
Next up was the front panel, again this needed a little force to attach it to the frame - another piece I wished I had a spare of but luckily the piece was strong!


I then mounted the power supply on the rear of the frame and attached the PEI print bed. I used the same rigid-plastic trick to organise the wires coming from the build plate so they hopefully won’t wear and break.


Here I added the filament holders and tested the level of the bed; pretty good if I do say so myself!

Now to sort out the spaghetti wires…

Also it was about this time that I realised there is a rather hilarious face in the back of the extruder.

Here I’ve plugged in the motors to the board.

And now the temperature sensors and heating elements too.

…it’s just a lot of spaghetti…

So I shoved all the wires inside the tidy little case and it’s done!

I moved the printer to my desk so I could print without annoying my housemates too much and here it is trying out the first print! …this one actually failed as I hadn’t set the height of the induction sensor correctly.

So here is the second print with a much nicer outline and it’s well affixed to the bed.

The Mk2 comes with a few models pre-sliced and availabled on the provided SD card - including this batarang, because who doesn’t like batman? The print was a success!

Also Hi! That’s me, don’t mind the robot dinosaur shooting laser beams, it’s my favourite shirt!