Foam Armour Dagger from Skyrim - Foam Smithing
I’m making a dagger from Skyrim and after cutting out all the EVA foam pieces in my previous post, today I’m gluing, shaping and finishing the dagger.
Just a reminder to check out [Punished Props][punished props] and Tested (members-only video) where I got the pattern and instructions. Bill Doran from Punished Props has published a series of books called Foamsmith (1, 2 and 3) which details some great techniques for creating armour and weapons from foam. Also be sure to check out my previous post for the first half of cutting out the foam pieces.
First up I cut the aluminium rod down to size using a hack saw so it fit nicely in the slot. I then covered both surfaces with contact cement and left for a few minutes so it became tacky. Then I stuck the pieces together making sure the rod was hugged tightly by the foam.

Here’s a picture of the dagger before adding the final detail layer.

I then stuck down the detail layer on top and got my dremel ready for the fun bit - sanding and shaping. I used the fine detail attachment with the sanding head to shape down the edges of the blade and handle.

I’m glad I did this outside and with breathing protection because the material sanded off this was no joke - I was completely covered!

I tried to keep a consistent angle as I sanded down the blade but I didn’t worry too much about it being a bit lumpy - hand smithed blades aren’t meant to be perfect after all!

I did make a mistake though - on one side I took a bigger divot out of the foam where the sander got caught a bit longer than I intended.

I decided to use a little foam clay to fill in the gap.

I could then sand this down in the same way (after it had dried). Here is the final shape of the dagger.

And the nicer side without the repair:

I used a big box as a painting booth and hung the dagger from a bent coat hanger. I used Plastidip as a primer which is a flexible rubber coating. This will seal the foam and allow me to paint it with acrylics.

I then painted it using normal acrylic paint built up in layers. With this the dagger is complete!

You can see on this side that I should have waited a bit longer for the foam clay on the repair to dry. Though it was dried enough on the outside to sand it with the dremel, it looks like it was still moist further down and that moisture was sealed in by the Plastidip. I think this is why the repair looks smooth where the moisture can’t escape.

After making my first dagger there were a few things I didn’t quite get right the first time so I decided to try again! Melbourne has come out of lockdown so I have access to a laser cutter as a member of the Connected Community Hackerspace so instead of cutting out all those fiddly details I instead used the laser cutter to do it for a much nicer finish.

Already you can see the parts are much cleaner using the laser cutter - and it was fast too! I constructed the second dagger in the same way as the first but took more care on the blade so I didn’t need to do a repair on this one.

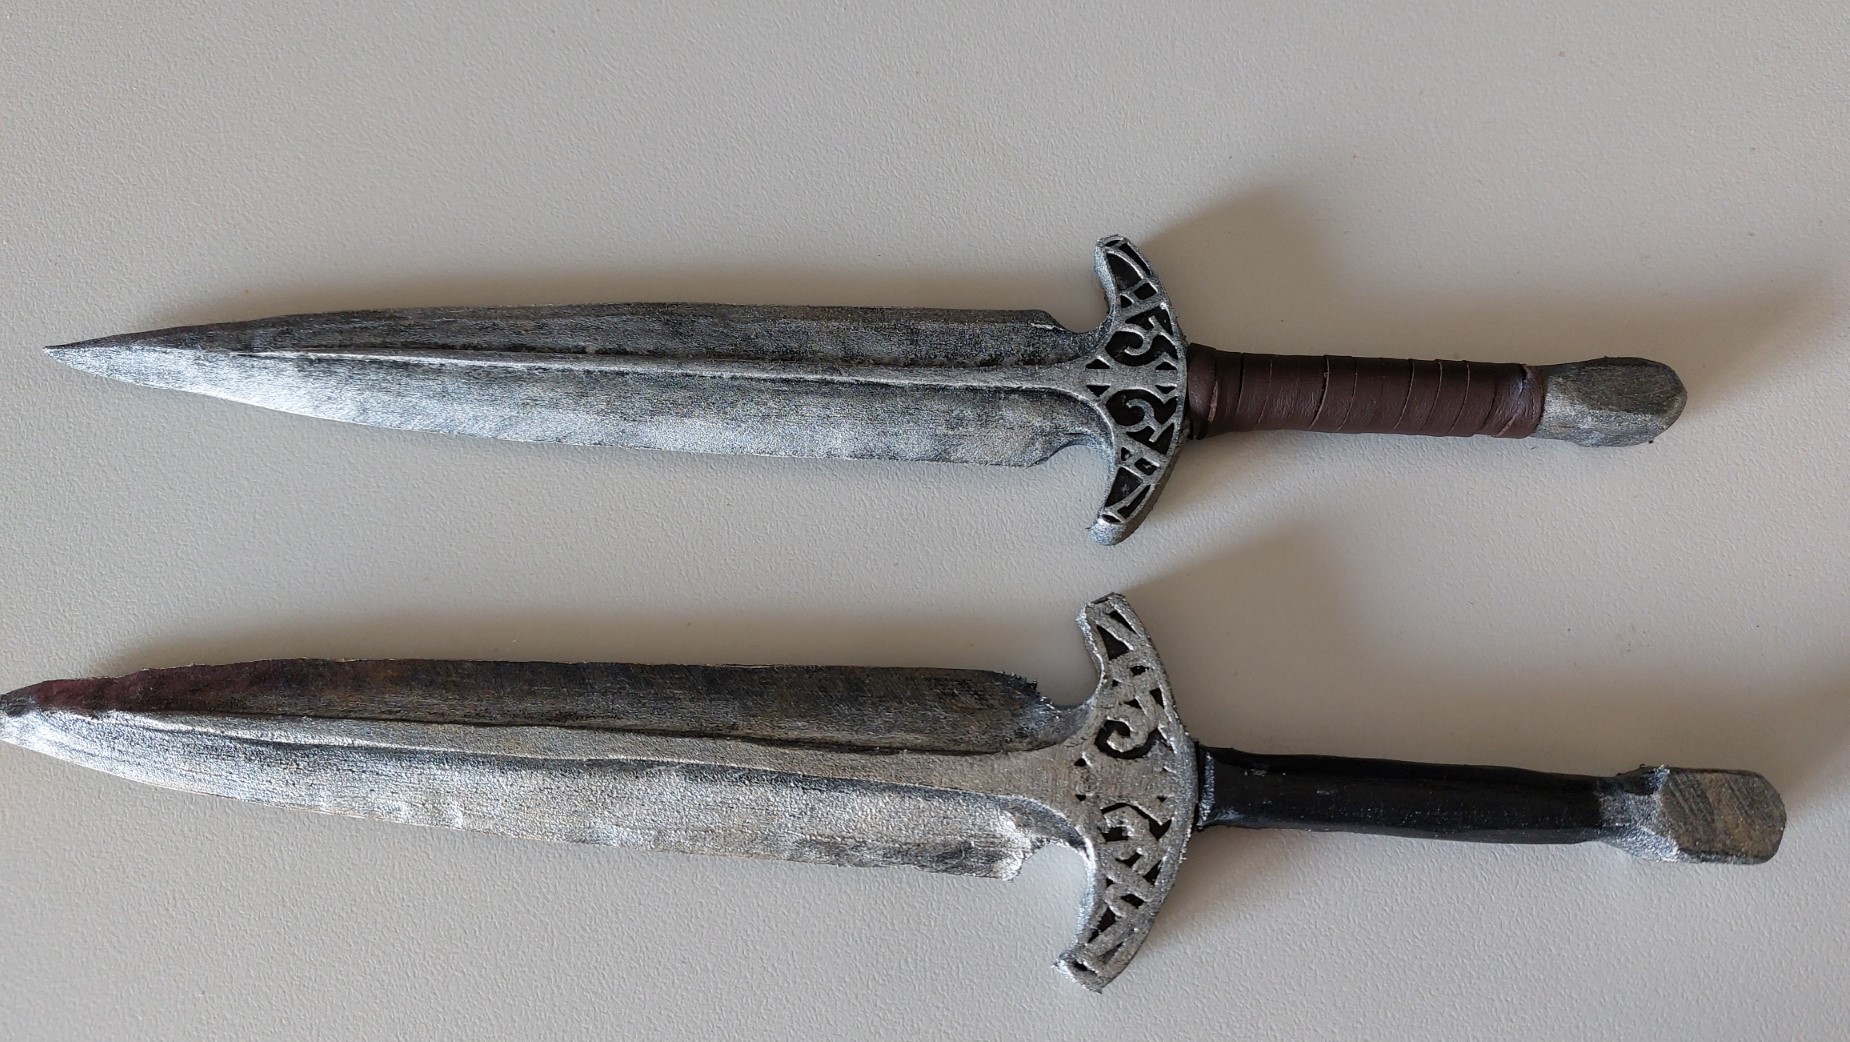
I also made sure to heat seal the foam before applying the Plastidip coating which got rid of all the ‘fuzzy’ bits of foam which were attached from the sanding process. Heat sealing involves just using a heat gun (or even a hair dryer) on the foam for a couple of seconds and does shrink the foam a little so the second dagger is slightly smaller and the detail layer is much thinner. Here is a comparison between my first (bottom) and second (top) attempts. Also notice I wound the handle with faux leather to finish it off.
All done! My first foray into foamsmithing was quite the success!